We've been playing Enshrouded since early access, and there are a LOT of things we wish we had known from the start! We came up with more than 50 tips and tricks - so, whether you are completely new to Embervale or coming back for the 1.0 release, here are the things we wish someone had told us before we started. From the first skills you should unlock to the best ways of dealing with the Shroud, inventory management, building, food, farming and even the game settings, these tips should save you some time, a few unnecessary deaths and hopefully at least one argument over who looted the chest first.
Watch the full VideoBefore you even think about wandering around the world, get your mobility sorted out! Enshrouded has a pretty big world to explore, and walking everywhere like you are on your way to the supermarket gets old rather quickly. After placing your workbench during the tutorial, focus on crafting a Glider and Grappling Hook as soon as possible. Then, invest into Updraft and Double Jump. Those four things together make getting around SO much easier, without taking the scenic route down a cliff - or not.
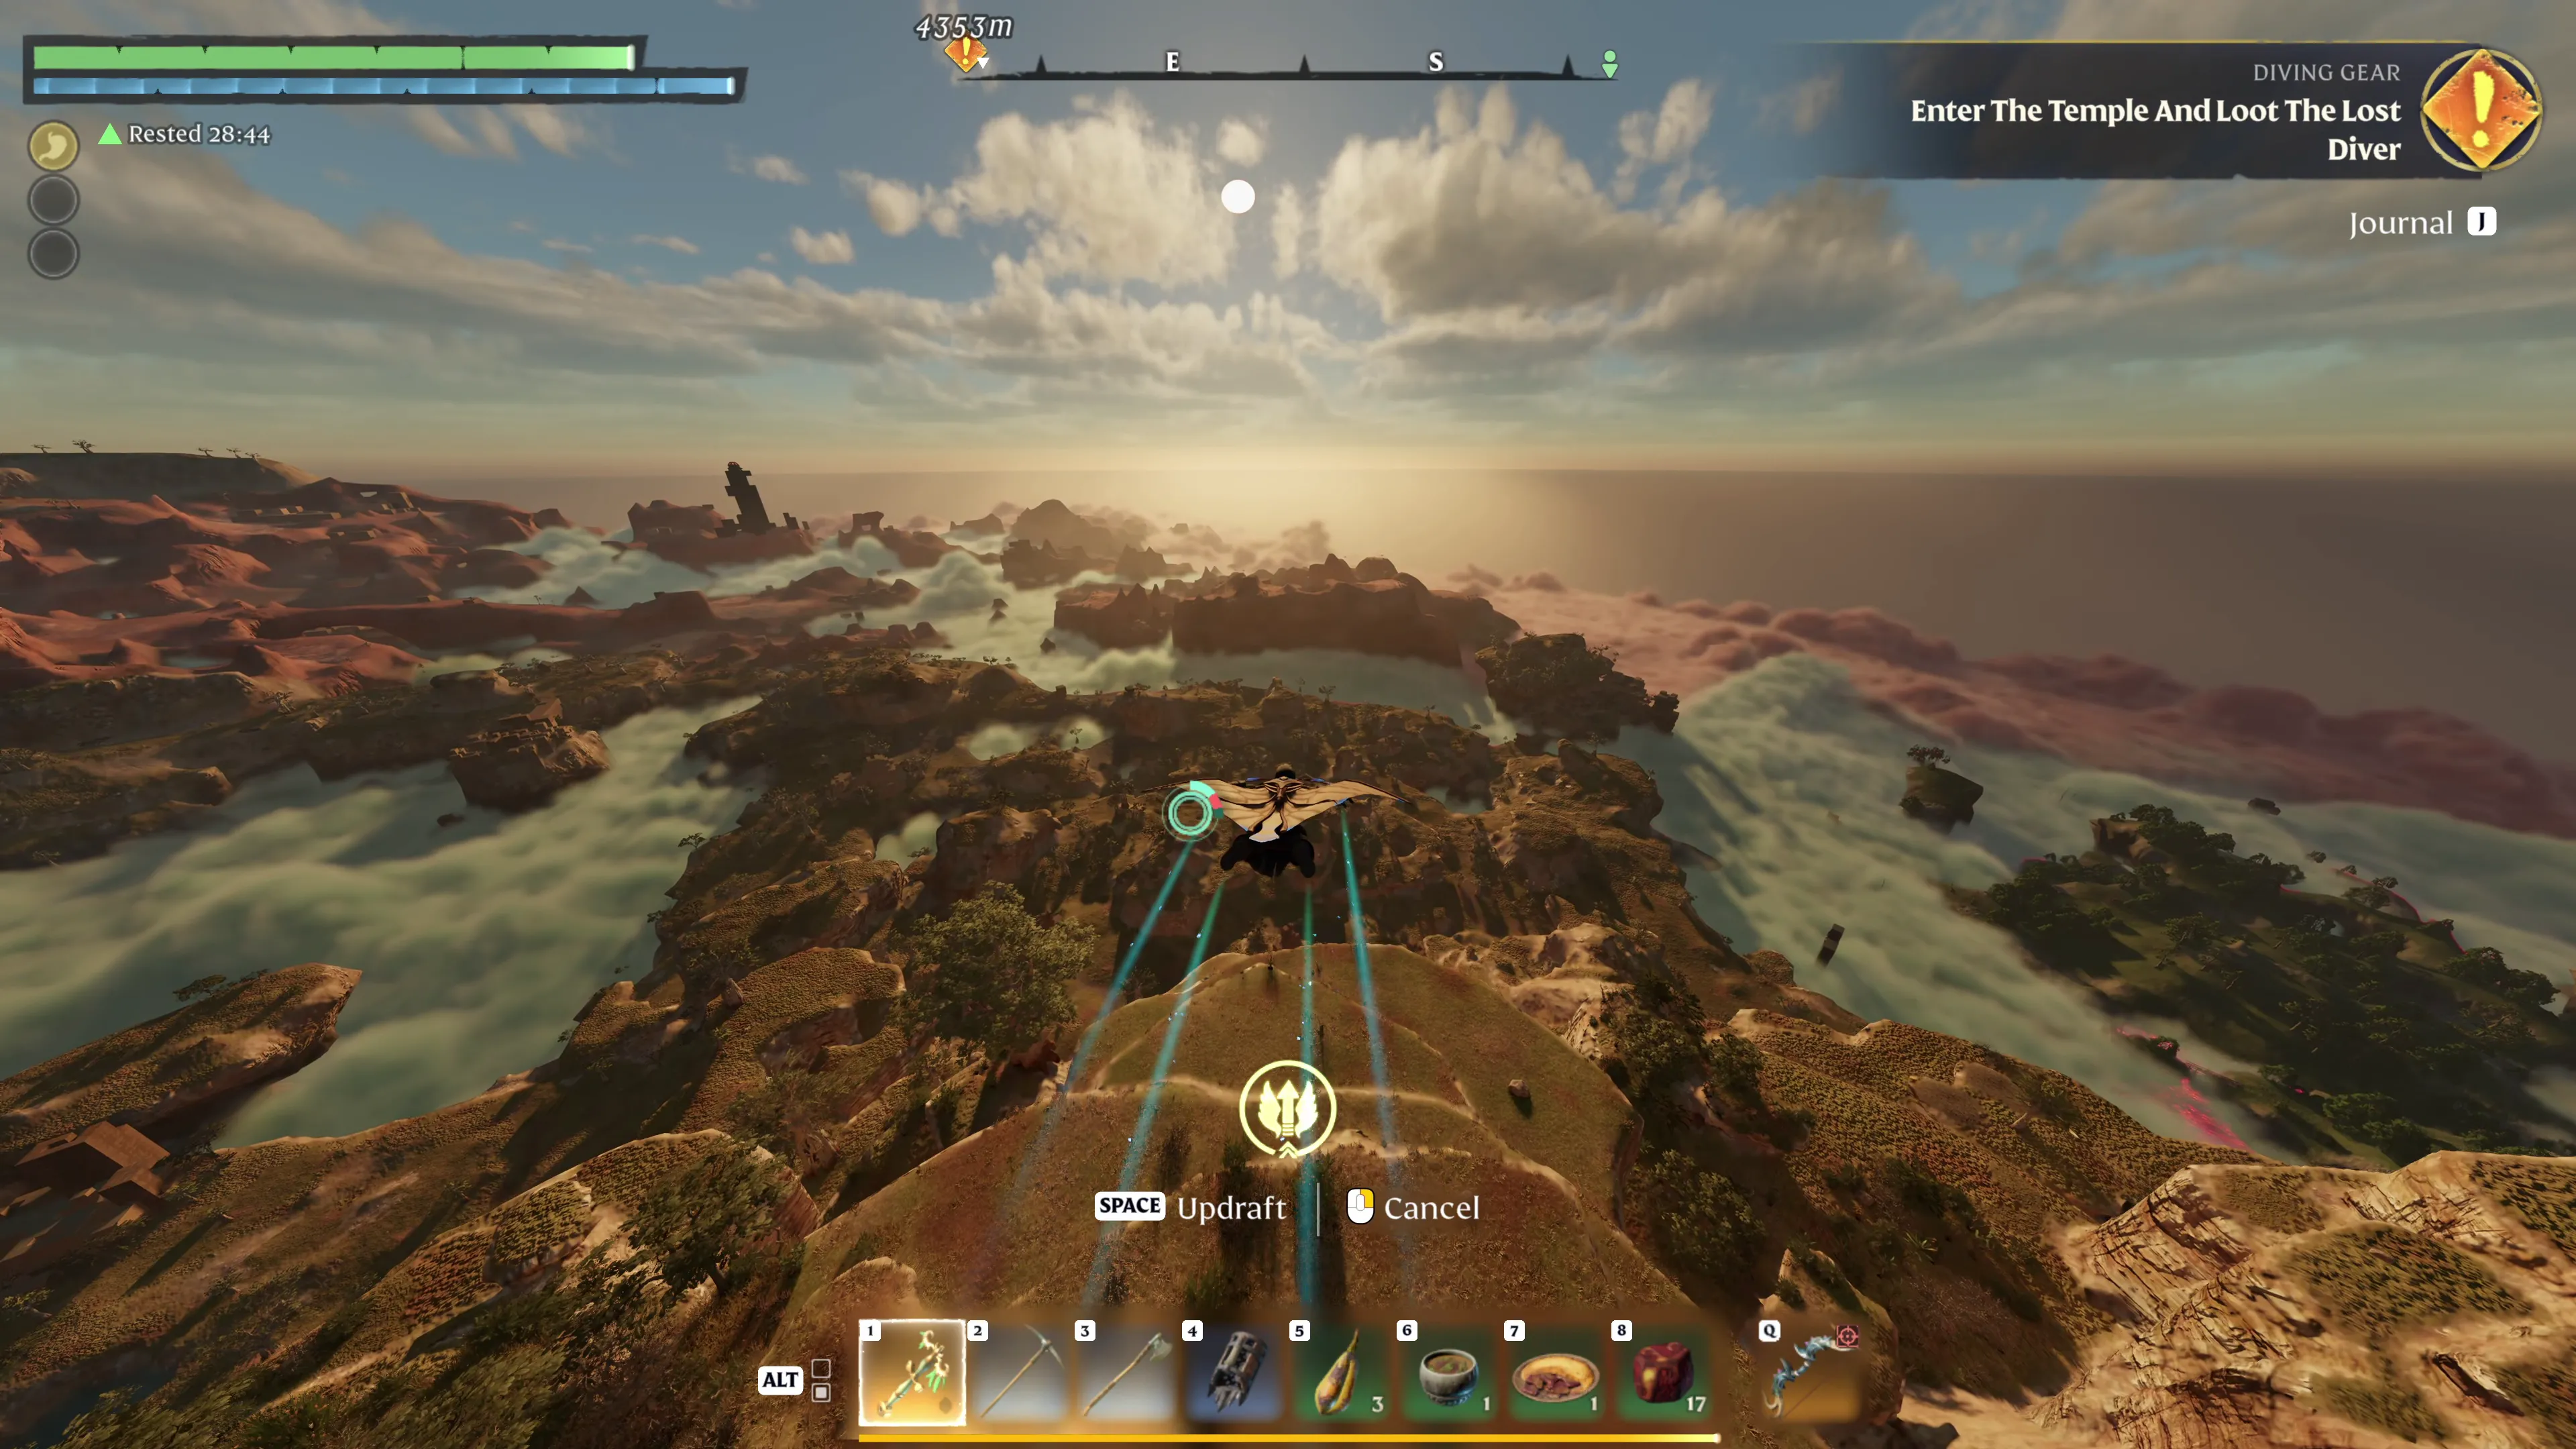
If you are playing a melee build, there is another skill worth looking into: Grounding Hook . It lets you pull flying enemies down to the ground, which is a lot more convenient than waving your sword at something that apparently has no interest in eye-to-eye conflict resolutions.
Keep a Bow EquippedSpeaking of weapons, regardless of your build, we recommend keeping a bow equipped in your range-weapon equipment slot . You can quickly ready your bow by simply tapping Q , without having to sacrifice one of your hotbar slots for it. This is especially useful for puzzles and anything that requires you to hit something from a distance. You can do the same with staves, although those require spell scrolls and are not particularly useful for every build. And, of course, do not forget your arrows!
Do Not Worry Too Much About Your BuildOne thing we really like about Enshrouded is that resetting your skills is relatively cheap, and you can do it at a Flame Altar. That means you do not have to worry too much about making the wrong decisions early on. You can even invest into skills that improve your logging or mining before you have better tools available, then reset those points later when you no longer need the extra efficiency. You also do not have to put every skill point into damage. Constitution is particularly useful early on, because having more health makes it considerably easier to survive while you are still figuring out how everything works. Different builds can also complement each other quite nicely in co-op. For example, one player can focus on a tanky physical build, while another goes for magic or ranged damage with some healing on top. That gives the group a nice mix of survivability, damage and support without everyone trying to do exactly the same thing. And if you have heard that ranged and magic builds are not particularly good, keep in mind that the 1.0 release overhauls both of them . So, if you prefer shooting enemies from a distance or setting them on fire with magic, there are changes worth looking into rather than dismissing those builds outright.
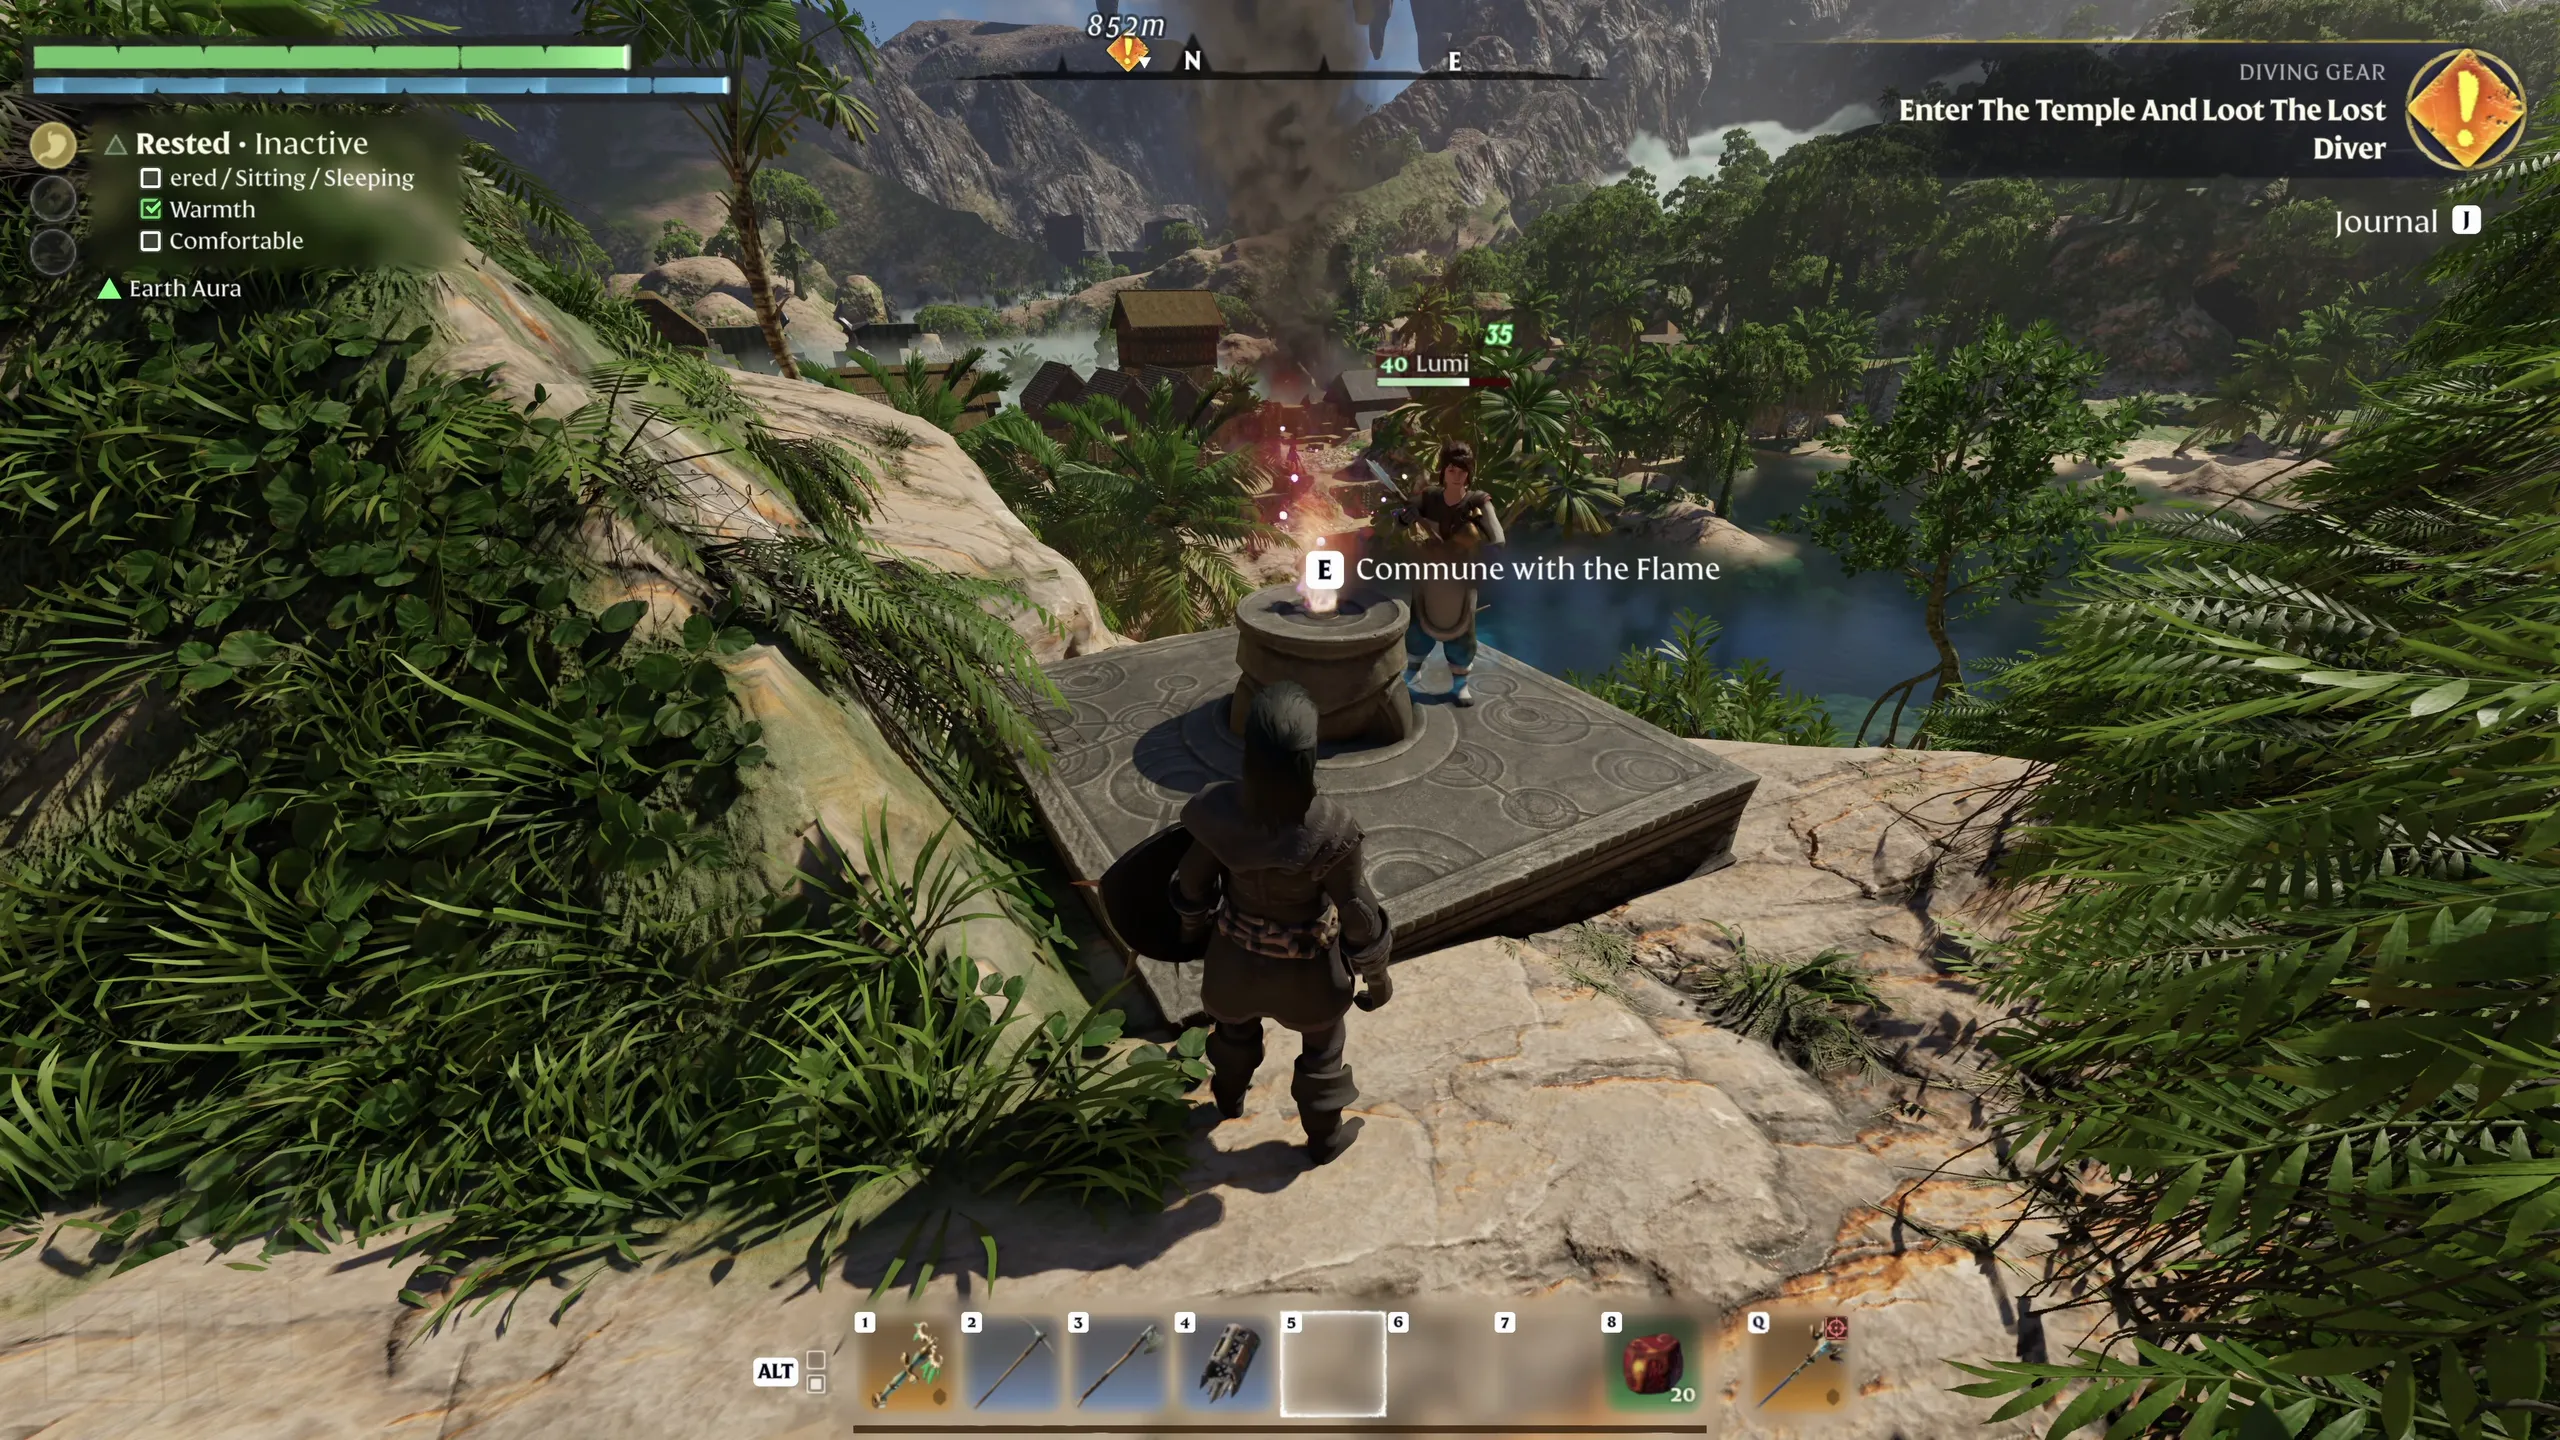
Pay Attention to Your Flame AltarSomething that can be a little confusing at first is how much of your progression revolves around Flame Altars . These are not just places to build your home and teleport around. Upgrading your Flame also determines which areas of the world you can access, since stronger Flames let you deal with more dangerous Shroud zones. So while you should absolutely be doing quests, do not just rush through the main story without paying attention to your Flame level. There is also a limit to how many Flame Altars you can build, and that limit depends on the maximum level of one of your Altars. You start out with one available altar slot, and strengthening the Flame increases that limit by one per upgrade, up to ten slots at Flame level nine. And this is where things get particularly useful in co-op. Never use up all your Altars for bases. Keep at least one spare at any time! One player can head off to scout a new area while the others keep gathering resources, building or working on quests. When you eventually want to meet up, just place a Flame Altar somewhere convenient and let everyone teleport to it. They are also useful as checkpoints for your adventures, especially when you are heading somewhere far away from home. Whenever you are clearing more difficult zones, it is always helpful to set a Flame Altar close to where you are progressing and use it as your preferred respawn point. One small quality-of-life improvement is that you can now build Flame Altars using stones from the biome you are currently in, rather than having to bring the basic stones from the starting area with you. So there is less reason to fill half your inventory with materials just in case you want to establish a new teleport point.
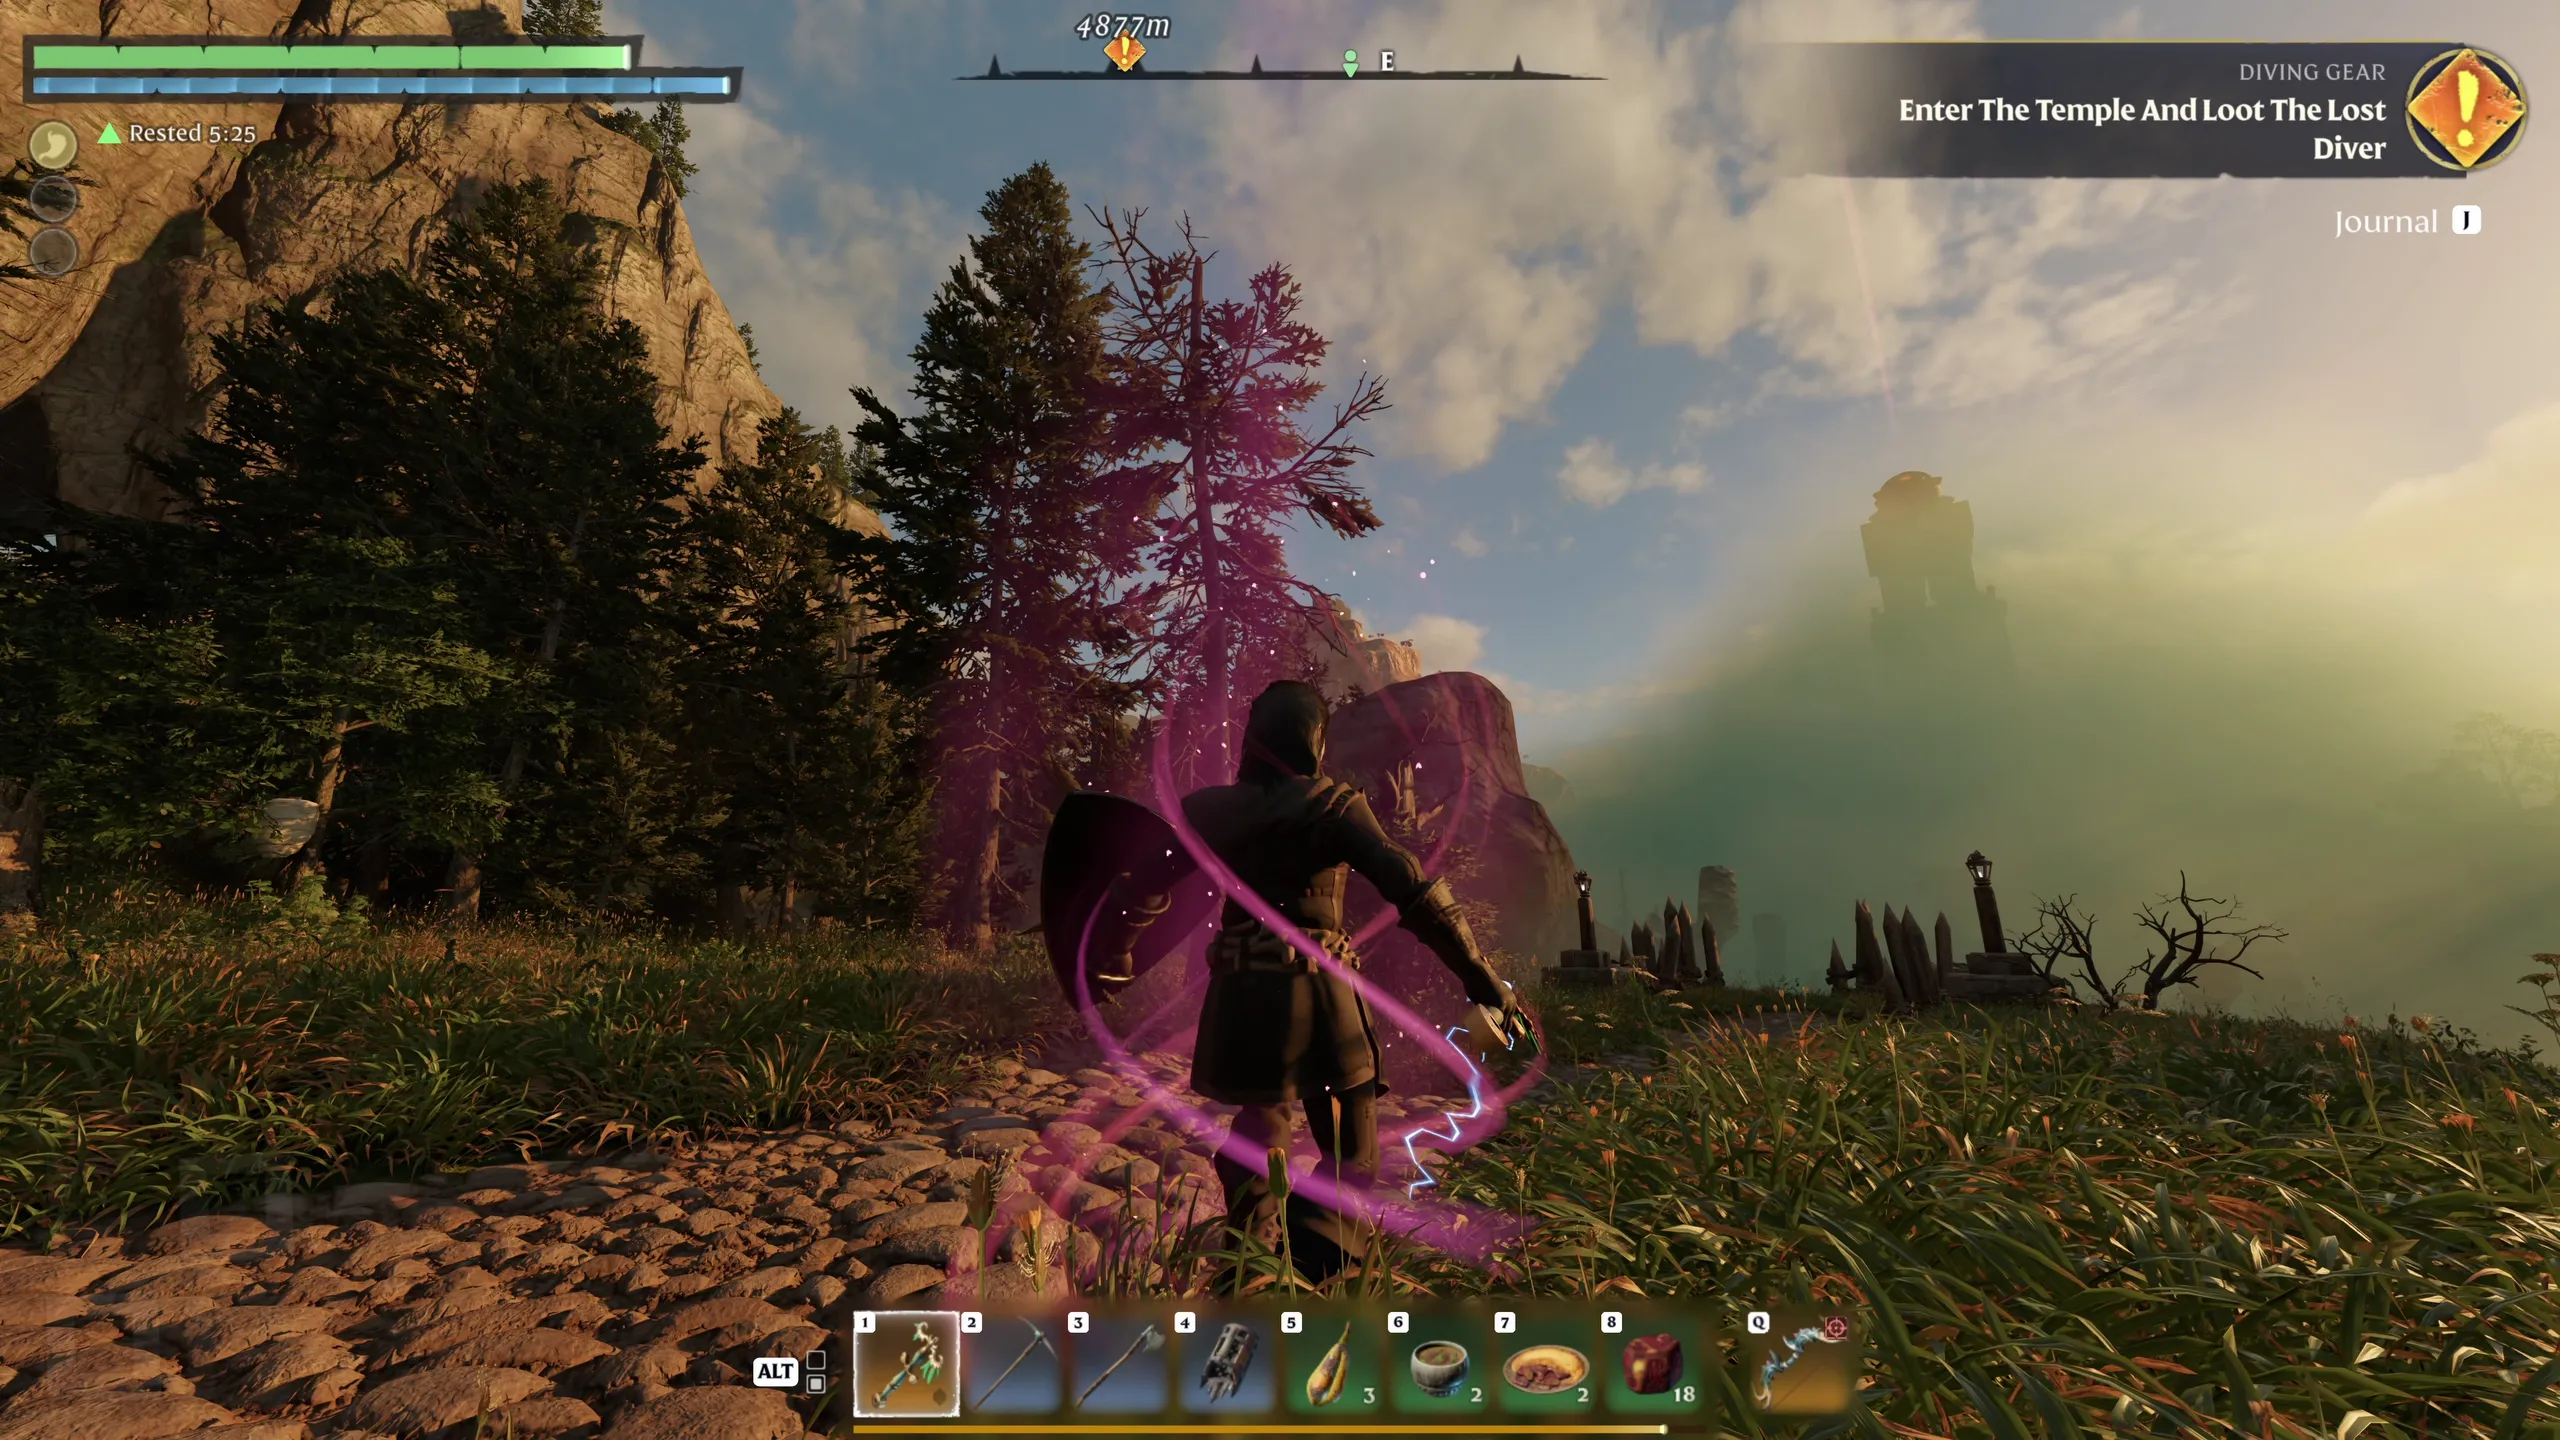
When exploring the Shroud, always have an exit plan. Unlike regular areas, you cannot simply teleport out whenever you feel like it, so keep an eye on your timer and make sure you know where you are heading before wandering too far. And whatever you do, do not walk into the red Shroud expecting to figure things out along the way. Those areas are meant for later progression, and you will die in seconds once you enter them. Once you have strengthened your Flame, however, that upgrade does more than just unlock access to these areas. It also extends the time you can spend inside the Shroud. Basically, the stronger your Flame gets, the more freedom you have to venture into dangerous areas. But if you are being hit by effects and skills that just remotely look shroudy, get cover. Those drain your time even faster. On the other hand, you can also find hourglasses in the Shroud that refill your timer, so keep an eye out for anything with a reddish glow. Just not too reddish. That lava will kill you. Always. Trust us.
Unlock Ancient Spires as Soon as You Reach a New RegionOne of the first things we recommend doing when entering a new region is looking for its Ancient Spire . These towers give you free teleportation points once unlocked, and they are positioned high above the surrounding area. That means you can use them as convenient starting points for exploring the region, rather than having to climb your way back up every time you want to reach a mountain or another hard-to-access location.
And while you are exploring, do not ignore glowing notes, lore items and other things you can pick up. These often trigger quests or give you experience, so collecting them is usually worth the detour. And talking about detours - you will come across locked doors pretty often. While you can usually destroy them, you can also break through the voxel-based world itself. So get creative!
Know Where Your Experience Comes FromSpeaking of experience, you do not earn it by doing absolutely everything. Combat, mining resources, exploration and quests all contribute, along with a few other activities. Simply digging into the ground, however, will not give you experience. Another thing worth knowing is that enemies have fixed levels depending on the area you are exploring. So, if you are getting destroyed by everything in sight, there is a good chance you have wandered somewhere you are not ready for yet. There is no shame in coming back later with better gear and a few more levels.
Do Not Spend All Your Resources on GearEnshrouded gives you plenty of opportunities to find better equipment, especially as you explore new areas. So do not spend all your resources crafting gear offered by the NPCs or upgrading low-level equipment. Your next favorite sword is just one big shiny chest away! And since we are talking about playing together, there is one important limitation to keep in mind: Chests can only be looted by one player. That means you cannot all open the same chest and collect the same rewards. If someone gets to it first, the other players will not be able to loot it as well. Fortunately, sharing items is easy. You can simply gift things to each other when you are nearby, so there is no need to turn every piece of loot into a lengthy discussion. When you have outgrown your gear or come across something better while exploring, you can simply salvage it on the fly by right-clicking on it. Do not worry about destroying outdated pieces. You likely will not use them ever again, and recycling them is much better than leaving them in a chest to collect digital dust. Every piece has a maximum level shown in the tooltip. You can invest runes to upgrade it, and every upgrade gives a flat damage bonus and an enhancement. You get these runes as loot drops, or by recycling old stuff. Do not worry about upgrading too much, though. In the beginning, it is better to save some runes, as these are also needed for resetting your skills.
Be Like Link and Smash EverythingThe same rule of not hoarding things goes for the world around you. Take it from Link and smash pretty much everything you can get your hands on. Pots, furniture and other destructible objects can provide useful resources, and you never know when you will need them for crafting. Explosives are worth setting off too. Not only because blowing things up is generally a good time, but also because you might uncover something hidden nearby.
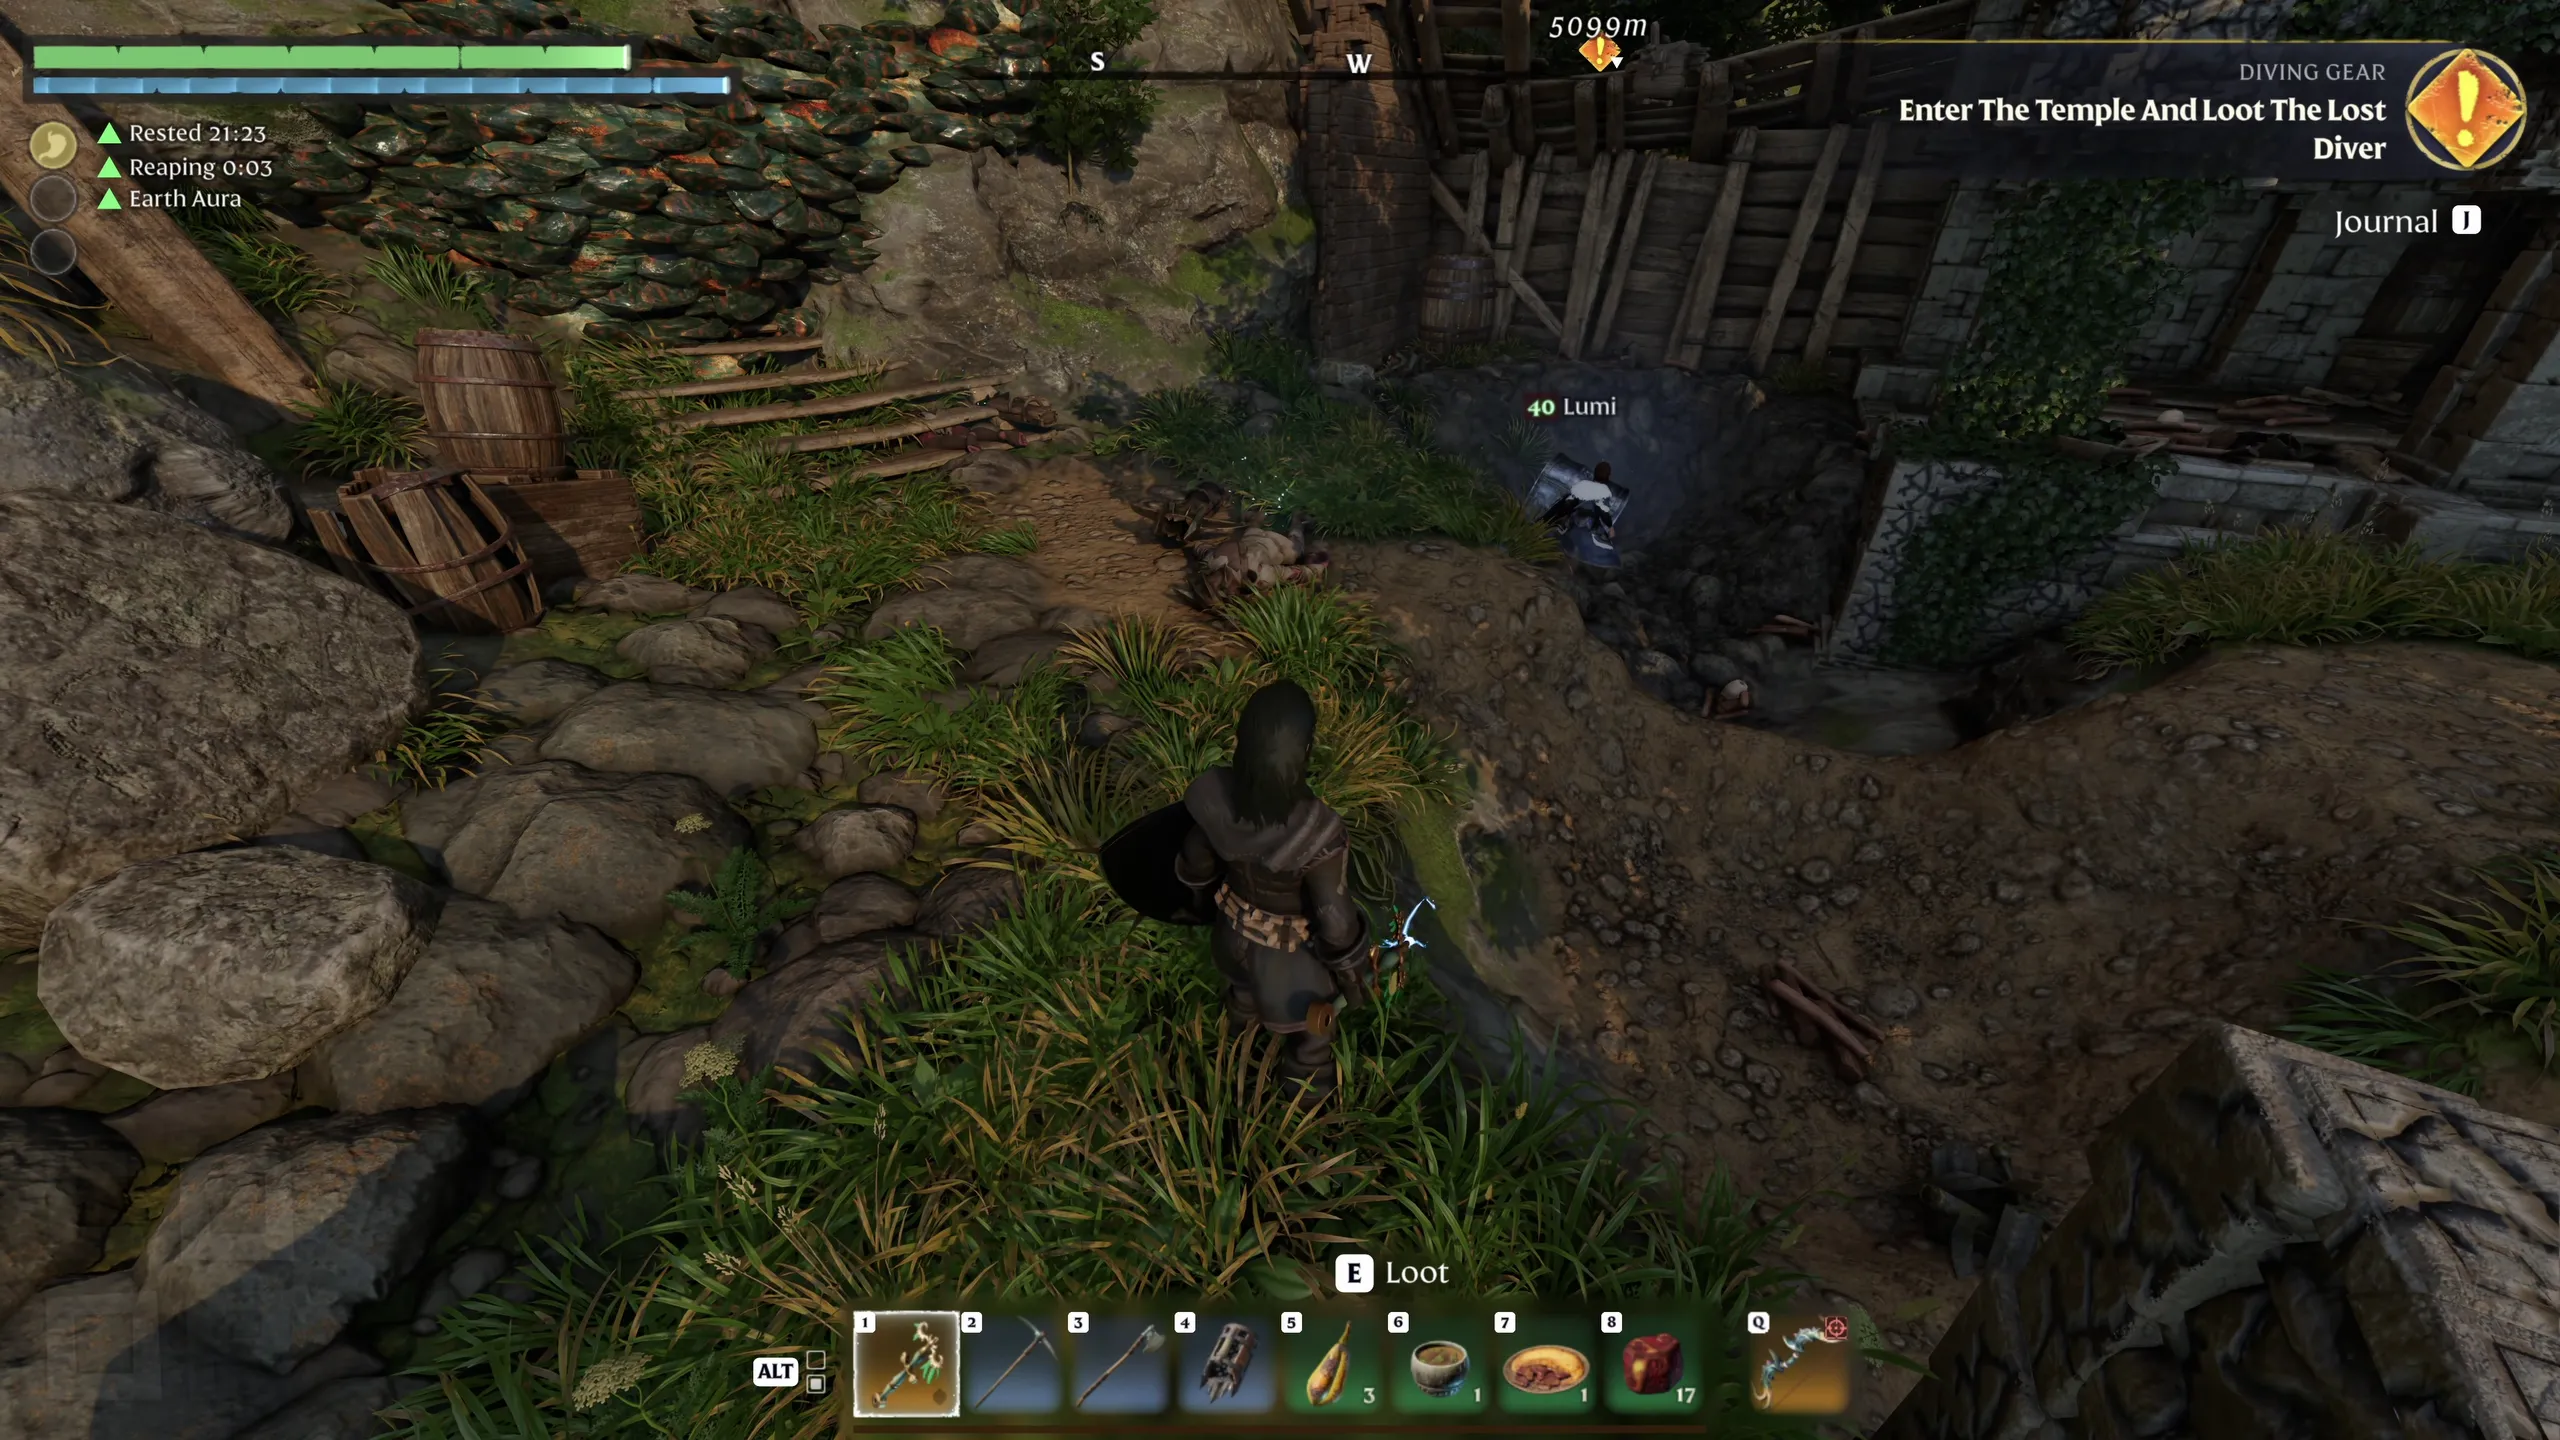
And here is another small tip that can save you a lot of wandering around: use markers . Whenever you find a useful resource, a deposit you cannot mine yet or something you want to come back to later, mark it on your map. Unfortunately, you cannot name them, so you need to come up with a system of icons and colors. Later, you can filter markers on the map by pressing the key 2 , then hover over your marker and press F for focus. Future you will appreciate it, especially when you are looking for that one resource you found three hours ago and somehow managed to forget the location of.
Food Is More Important Than You Might ThinkFood is not just something you consume when your character gets hungry. Different foods provide different buffs, and those can make a noticeable difference depending on your build. You can have three different food buffs active at once , with each type generally supporting a different stat or playstyle.
- Meat increases health.
- Grain supports melee builds.
- Mushrooms are useful for magic.
- Vegetables benefit ranged and dagger builds.
- Fruit improves regeneration.
- Liquids help with stamina.
You can see what type of slot a meal will take by pressing the R button at the kitchen. This will show you the buffs in detail, along with the little icon. The same icon will also appear in your food slots in the upper left corner after eating. Remember that you can only eat one piece per food type! The important thing is to choose food that actually benefits your character instead of eating whatever happens to be sitting in your inventory. And yes, cooked food is generally better than eating ingredients raw. Some raw ingredients can even be poisonous, so unless you enjoy making your next adventure considerably shorter, we recommend cooking them first. You can also unlock a fourth food slot through the Dessert Stomach skill, which lets you benefit from an additional food type. Which, coincidentally, can also be sweets. Honey, sugar and popcorn are examples of foods that can provide a short-term boost to stamina regeneration, sometimes with additional health or mana regeneration.
Make Your Home ComfortableThen there is the Rested buff, which gives you another reason to return home regularly. It increases max stamina and regeneration, and spending time at your base lets you refresh it. To increase its length, you need to make your home as comfy as possible - with furniture! The Carpenter has a huge variety of different things for you to craft. The maximum comfort level is 122 if I am not mistaken, so as you can see, our home base is about as comfy as a shed. So do better. Unleash your inner interior architect and do not just spend the entire game running from one objective to the next. Go home, cook some food, refresh your buffs and then head back out.
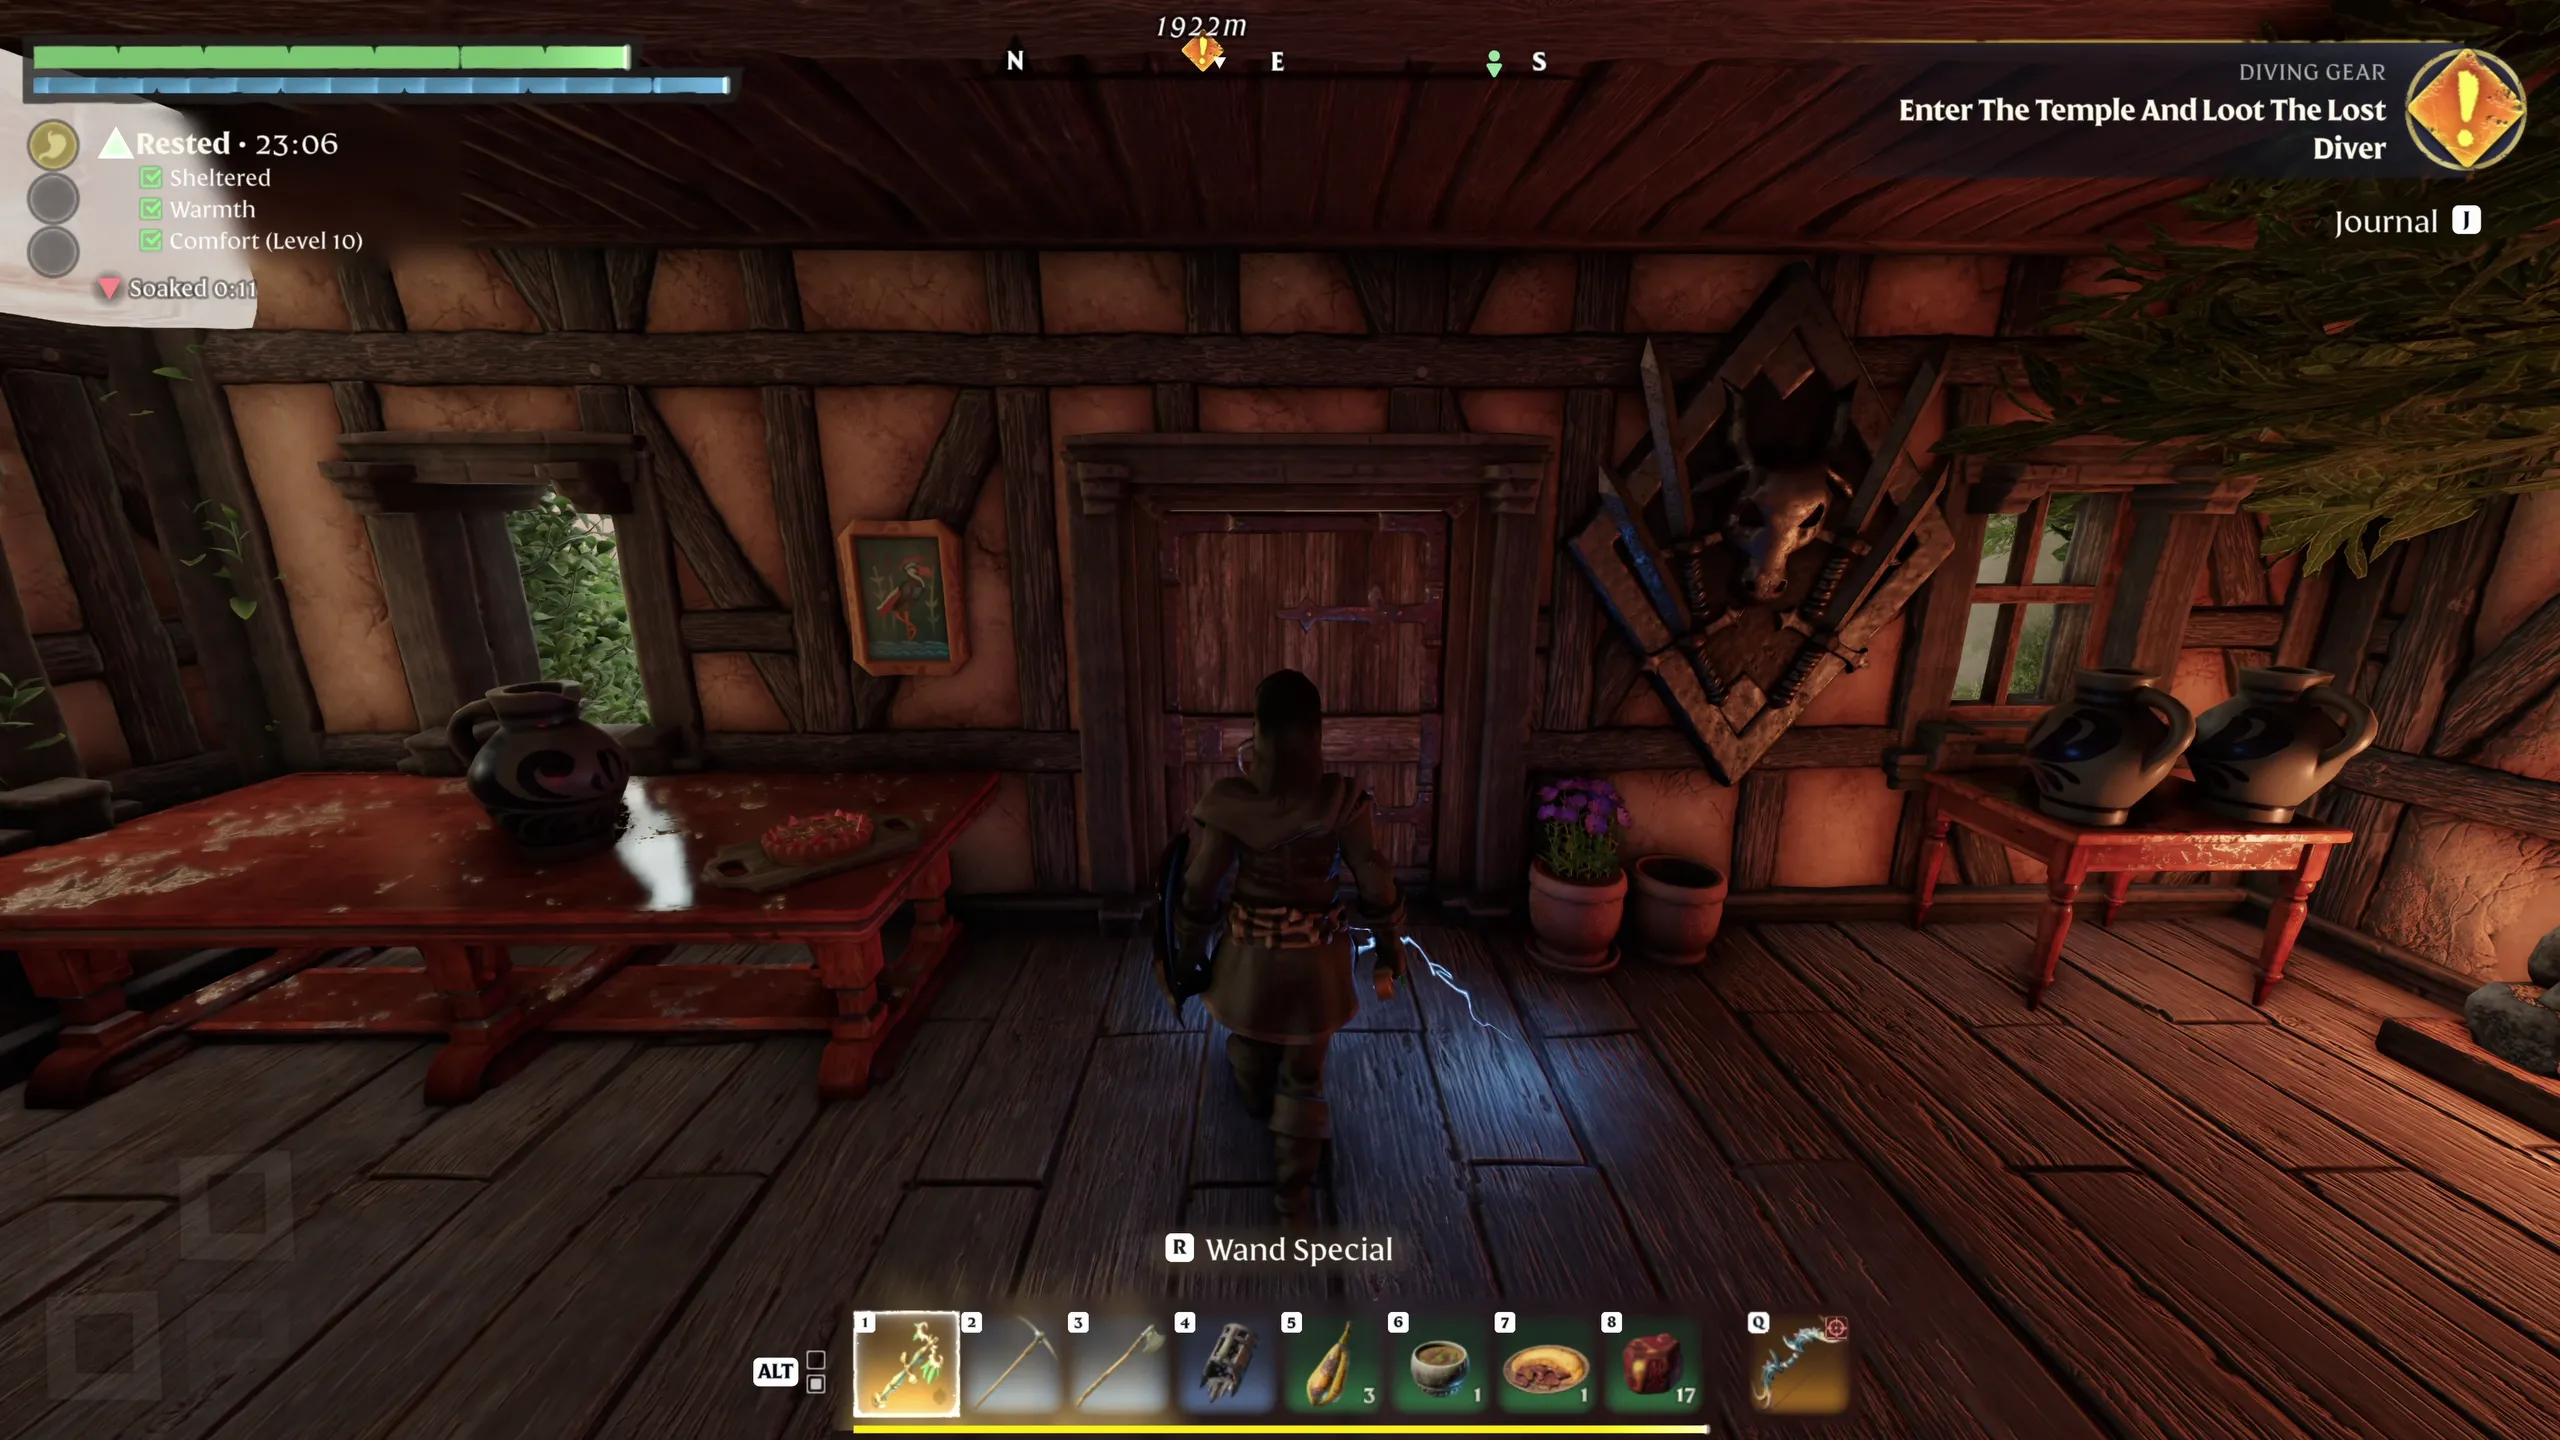
Your first base does not have to be your final home. In fact, we would avoid investing too much time and too many resources into your first construction, because you are probably going to build several bases as you explore more of the world and unlock new locations. There are also a few building mechanics worth knowing about before you accidentally turn your home into a construction experiment. Terrain and resources outside the area covered by Flame Altars respawn, while those inside do not. So, if you are planning to build somewhere, keep that in mind when deciding where to place your altar. If you want to dig into the ground quickly, you can place large blocks and destroy them by right-clicking to remove the terrain they occupied. Just remember that this method will not give you the ground materials you would normally collect by digging. While destroying blocks, keep in mind that the glowing blocks and sides are the ones that get destroyed, which is also useful when you are working on more detailed builds. And if you are having trouble placing blocks exactly where you want them, try turning off snapping . It gives you more freedom when positioning things. Made a mistake? Press Z to revert your last action. But be careful - you can only go back a few steps. And if you have somehow managed to flood your entire base, you can remove the water at the Flame Altar or disable it completely. Not that I would know anything about accidentally creating an indoor swimming pool.
Expand Your Inventory as Soon as You CanInventory space can become a bit of a problem once you start collecting everything that is not nailed down. And considering the earlier tip about looting everything, that is going to happen quite a lot. The solution is to expand your inventory by getting bigger backpacks as early as possible. The first tiny backpack is pretty easy to get, but for the bigger ones, you need more advanced materials. For those, you will need to rescue more survivors scattered throughout the world, as they unlock new crafting stations. The Hunter, Carpenter and Blacksmith are particularly useful here. The Hunter can provide leather needed for larger backpacks, while the Carpenter lets you craft larger storage box options. As you discover new materials, the corresponding recipes will also unlock automatically, so you do not need to manually hunt down every recipe before you can start crafting something new.
Use Magic Chests and Quick StackThere are two more features worth looking into once you have progressed a bit further. Magic Chests allow you to craft using the materials stored inside them, without having to move everything into your personal inventory first. And the Carpenter can provide a Quick Stack station later in the game, which makes unloading your inventory after a long expedition considerably less tedious. These are especially useful once you start accumulating huge amounts of resources.
Keep Your Survivors Where You Can Find ThemOne final inventory-related tip - if you cannot find your rescued survivors, check your settings. Set Roaming Range to zero by pressing CTRL and then scrolling down with the mouse wheel. This will force the NPCs to stay at their position and keep them from wandering around, making it much easier to locate the person you actually came home to talk to.
Start Farming and Raising Animals EarlyWhile you are out exploring, do not forget to start growing plants and raising animals as soon as you can. It might not seem particularly important when you are busy discovering new areas and fighting enemies, but having a reliable source of supplies at home makes a difference once you start preparing food and crafting more regularly. Instead of constantly searching for every ingredient you need, you can gradually build up a supply at your base and spend more time doing the things you actually went out to do. After rescuing the Farmer , you can plant different crops to use in cooking or to craft linen, and she will also help you craft bait to attract various farm animals. Just build a small shed, equip it with a food bowl and soft bedding, and you will have yourself a steady supply of items like wool and milk.
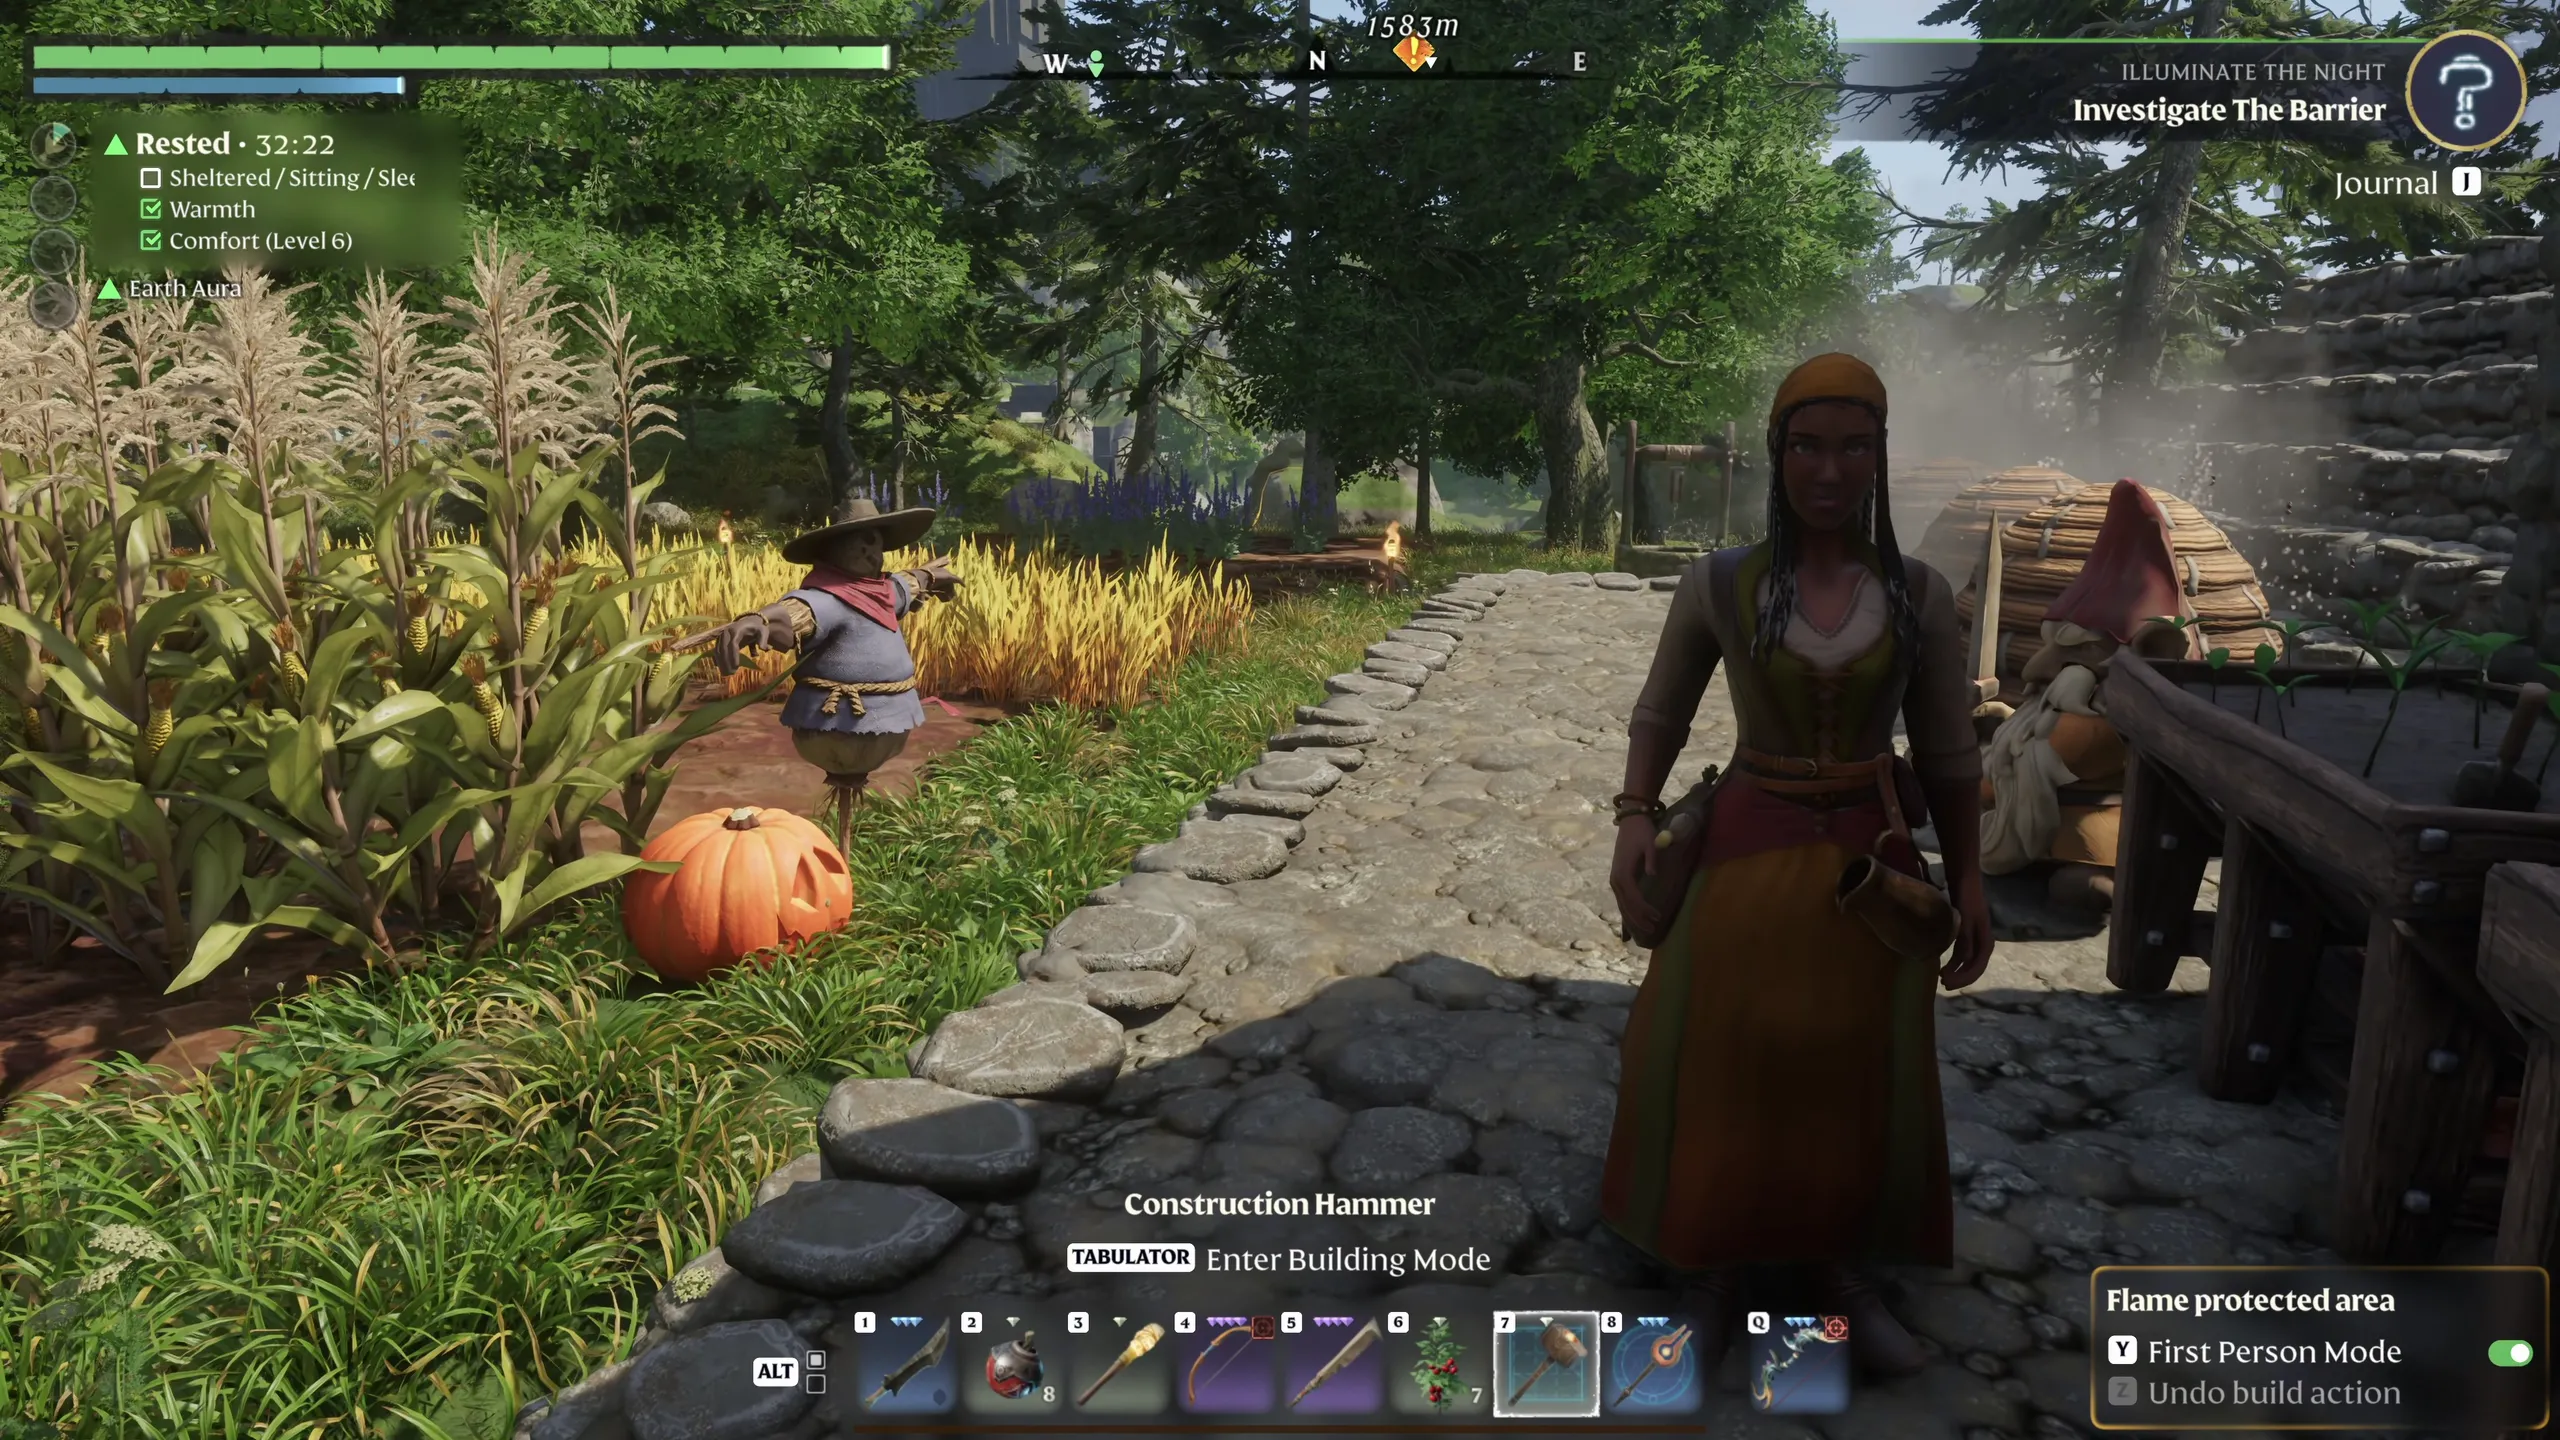
And because you should return home regularly anyway, having a functional base becomes more useful the further you progress. You do not even need to build a huge farm immediately. Just get the basics going early, and expand it as you need more materials.
The Settings Can Save You a Lot of FrustrationAnd finally, do not ignore the difficulty and gameplay settings. We are at a point where games can offer plenty of customization, and there is absolutely nothing wrong with adjusting things to suit the way you want to play. For example, we recommend turning off full loot drops and weapon durability if you would rather spend less time recovering from annoying situations. Because losing all your stuff after getting caught in a deadly Shroud area is frustrating enough. Having your pickaxe break while you are mining deep underground is just adding insult to injury. You can also adjust enemy health and strength if you want easier or harder combat, or increase experience rates if you would rather progress faster. For less inventory management, you can increase stack sizes. If you are tired of waiting for your crops to grow or your crafting stations to finish producing materials, you can also increase growth and production speeds. And if you want a more forgiving experience, you can extend Shroud timers and adjust things like oxygen, buff duration and frost resistance duration. There is also an arachnophobia mode for players who would rather not deal with the game's more spider-like enemies in their usual form. Of course, you might prefer keeping some of these settings unchanged. That is entirely up to you. But especially in co-op, where everyone might have different amounts of time to play, adjusting a few settings can make it easier to enjoy the game together without turning every session into a second job. A game does not have to be difficult to be fun. You do not have to play it exactly the way the developers intended to get something out of it. So experiment a little, find the settings that work for your group, and spend your time on the parts of Enshrouded you actually enjoy.
Things We Wish We Knew Before Starting Enshrouded 1.0And those were the things we wish we knew before starting Enshrouded 1.0! Hopefully, these tips will save you some time, a few unnecessary deaths and at least one argument over who looted the chest first. If you have any other tips we should know about, let us know in the comments. And if you are planning to play through the 1.0 release with friends, we hope you have a great time exploring Embervale together.